In Visit Create, an organisation represents your company – the event organiser. One organisation can host multiple events, all under the same owner. This allows you to clone events when you need to have similar characteristics, such as settings, registration types, branding, communication etc. This will save you the time and hassle of creating events from scratch, and will enable you to keep a clean and consistent event taxonomy, which results in clearer and more effective analytics.
In this section, you will learn how can fine-tune your general organisation settings. This allows you to customise various aspects that will be later used across all your organisation’s future events.
Access from Homepage: Select your event > Organisation > Setup
Setup
The Setup tab allows you to change your general organisation settings, such as logo, name, description, address and contact email.
The following table describes some of the settings:
| Setting | Description |
|---|---|
| Deduplication mode | Toggle deduplication mode. Allows you to detect duplicate records by using customised search criteria defined by the organiser/user. Select Event level to check against registrant emails at a single event, or Organisation level to check registrant emails across all events. |
| Notifications | Enter a notifications URL. This is an API feature that covers any activity on any event. Basically it’s a webhook, so when something changes, the URL gets called. e.g. you enter https://mydomain.com it gets called in format https://mydomain.com?eventCode=x&visitorCode=y (or similar). You would build logic at mydomain.com to get the record from our API then do something with it. |
| System options | This relates to Visit accounting information and should be handled by Visit staff only. |
| Visit Connect Single Sign-on | Auto-generated key used for single sign-on. See Visit Connect single sign-on for more details. |
Custom fields
Custom fields are a useful feature allowing you to define event-specific values that you need on more than one occasion. These fields can be used in scripts, badges, vouchers, and email templates.
When you create a custom field, Create automatically adds a prefix – “#”, and a suffix – “#”, to your field name. This is the custom field code that you can use in your scripts and templates to reference the value of this field.
The process of creating custom fields is a three-step process:
- Create custom fields.
- Define the custom field values for your event. Refer to Configure an event.
- Use the field in documents, emails and forms with the Add field button.
Create a custom field
- Select Custom fields.
- Select + Add.
- Enter a meaningful name that will help you identify the field, such as “analyticscode”. The field name has the following restrictions:
- It must contain lowercase letters only.
- It cannot include spaces or special characters.
- Select Save.
Portfolio
This feature enables you to group events into categories, such as industry, brand, or region, and assign your staff only to portfolios that they manage. This categorisation allows for a more organised and targeted approach to event management, while enhancing security and focus.
Create a portfolio
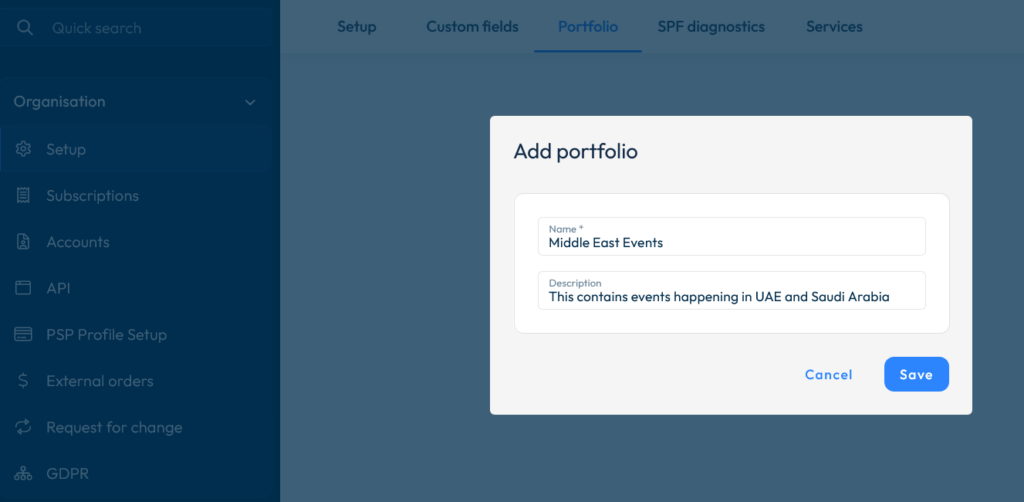
- Select the Portfolio tab.
- Select +Add.
- Enter a name (mandatory) and description (optional) for your portfolio.
- Select Save.
Email Domain Status
This was formerly known as SPF Diagnostics and now includes SPF, DKIM, and DMARC domain validation.
SPF, or Sender Policy Framework, is an email authentication standard that helps protect senders and recipients from spam, spoofing, and phishing. It defines all the senders that are authenticated to send emails on behalf of your domain. It’s the first step in email authentication. Along with DKIM and DMARC, SPF works to fully protect your domain infrastructure.
An SPF record identifies which mail servers are permitted to send email on behalf of your domain. Its purpose is to prevent spammers from sending messages with forged ‘from’ addresses to your domain.
Visit Create checks if it can send emails using your domain name. To do this, it checks the SPF list of your server. If Visit’s mail server is listed, Visit Create can send emails from your domain. If the mail server is not on your server’s SPF list, Visit Create will send emails with noreply@gesevent.com as the ‘from’ address.
DKIM (DomainKeys Identified Mail) is a standard email authentication method that adds a digital signature to outgoing messages. Receiving mail servers that get messages signed with DKIM can verify messages actually came from the sender, and not someone impersonating the sender. DKIM also checks to make sure message contents aren’t changed after the message has been sent.
When receiving servers can verify messages are from you, your messages are less likely to be marked as spam.
With DKIM authentication, you improve the likelihood that legitimate messages are delivered to recipients’ inboxes. Receiving servers can verify messages are actually from your domain, and aren’t forged.
Domain-based Message Authentication, Reporting, and Conformance (DMARC): Lets you tell receiving servers what to do with outgoing messages from your organization that don’t pass SPF or DKIM.
DMARC helps mail administrators prevent hackers and other attackers from spoofing their organization and domain. Spoofing is a type of attack in which the From address of an email message is forged. A spoofed message appears to be from the impersonated organization or domain.
DMARC also lets you request reports from email servers that get messages from your organization or domain. These reports have information to help you identify possible authentication issues and malicious activity for messages sent from your domain.
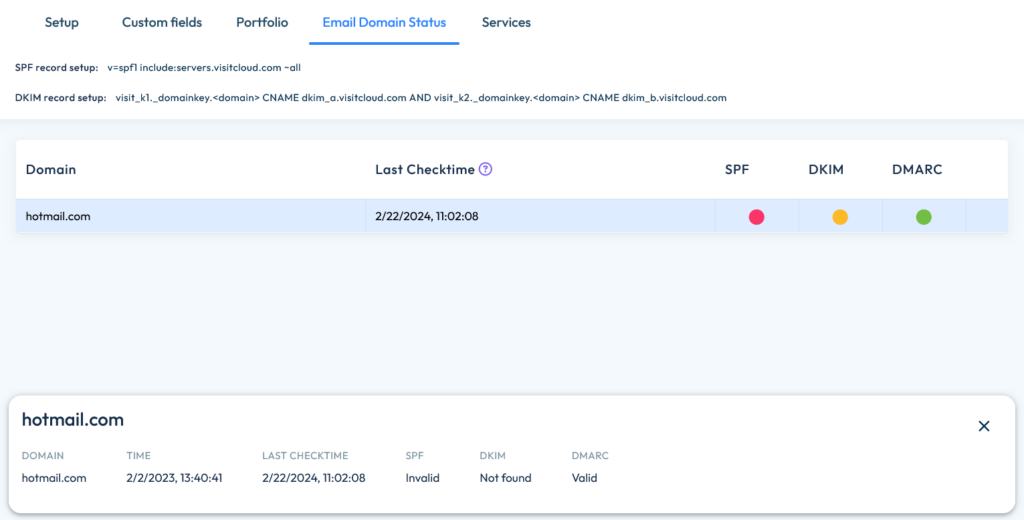
SPF and DMARC have two possible statuses:
- Valid
- Invalid.
DKIM can have one of the following:
- Not found (record was not found)
- Key 1 fail / Key 2 fail (record exists, but key 1/2 CNAME is wrong)
- Pass.
Update your SPF records
To set up an SPF record, add a TXT type entry to your domain DNS.
v=spf1 include:servers.visitcloud.com ~all
If you already have an existing SPF record then add servers.visitcloud.com.
DKIM and DMARC setup for email
DKIM
Add CNAME entries for visit_k1._domainkey and visit_k2._domainkey pointing to dkim_a.visitcloud.com and dkim_b.visitcloud.com entries, these are the public DKIM keys used for signing.
e.g. for example.com : add CNAME entries:
visit_k1._domainkey.example.com pointing to dkim_a.visitcloud.com
visit_k2._domainkey.example.com pointing to dkim_b.visitcloud.com
DMARC
Set up a _dmarc. TXT record, containing “v=DMARC1; p=none” as the minimum.
Services
This section includes third-party services that have been integrated with Visit Create.
VAT validation allows for VAT numbers to be checked and validated against an official VAT codes database – vatlayer. To benefit from this option, you need to create an account on vatlayer.com.
Vatlayer offers a free plan with a full stack of features, including EU VAT number validation and VAT rate lookup. If you need a higher request volume, startup-friendly subscription plans start at $9.99 monthly.
To enable this, go to Organisation > Setup > Services > vatlayer
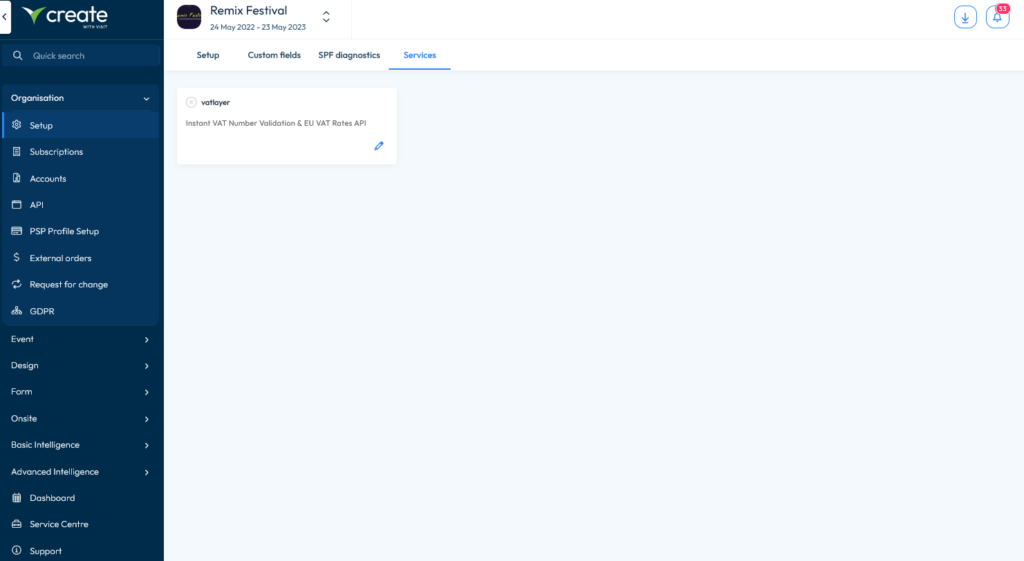
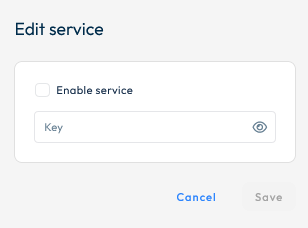
Then select Edit.
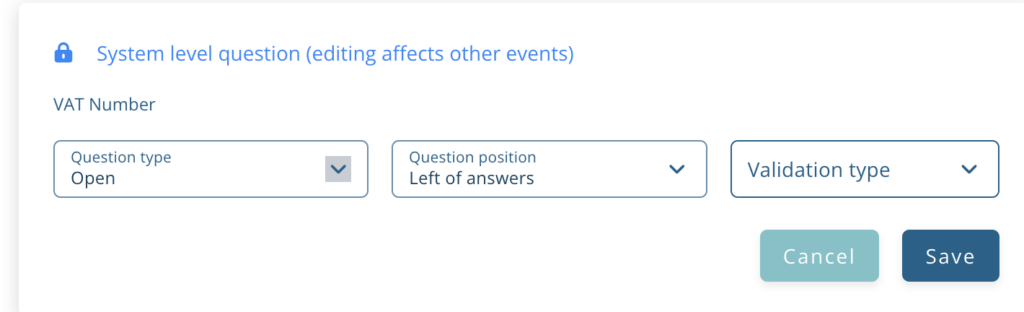
Tick the Enable service checkbox, then enter your API key in the box below:
Once enabled, you can use this for VAT validation in Forms.