This guide provides a walk-through to help you create and implement rules for access control to different areas or sessions at your event, customise form pages, and personalise documents according to custom criteria you set. You will also learn how to establish complex nested rules and test rules in a simulated environment, ensuring smooth onsite execution.
Follow these steps to enhance the organisation and functionality of your event through the effective use of rules.
Access from Homepage: Select your event > Event > Rules
Create a new rule
- Select +Add.
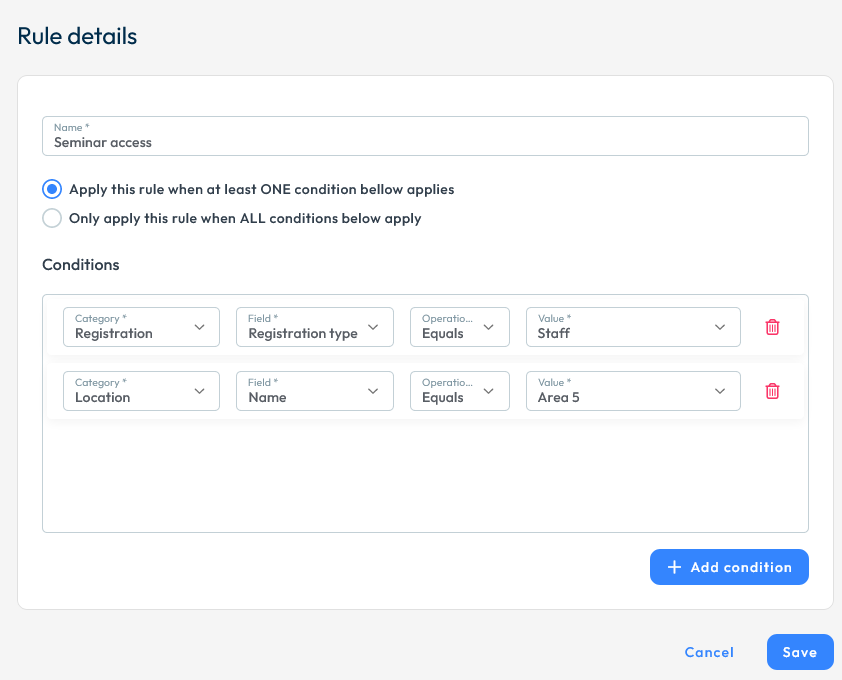
- Enter a name for the rule
- Enter the rule types and conditions. There are two types of rules:
- The rule applies when at least one condition is met.
- The rule applies when all the conditions are met.
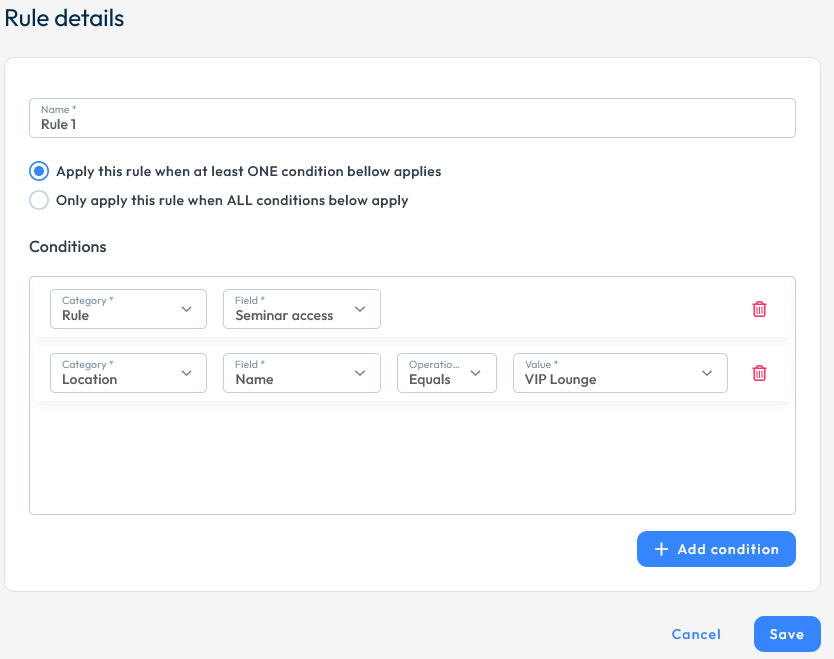
Nested rules
You can set up rules within rules, meaning you can define more advanced rules based on pre-existing ones.
Multiple value conditions
You can set up rules with conditions based on multiple values, instead of adding multiple conditions with single values. This only applies to Company, Department, Email, and Job function fields in the Personal category.
To add multiple values for the same condition, select the Edit icon within the Value field, and a pop-up window will open. In there you can add all values, each on a separate line.
Onsite Rule Testing
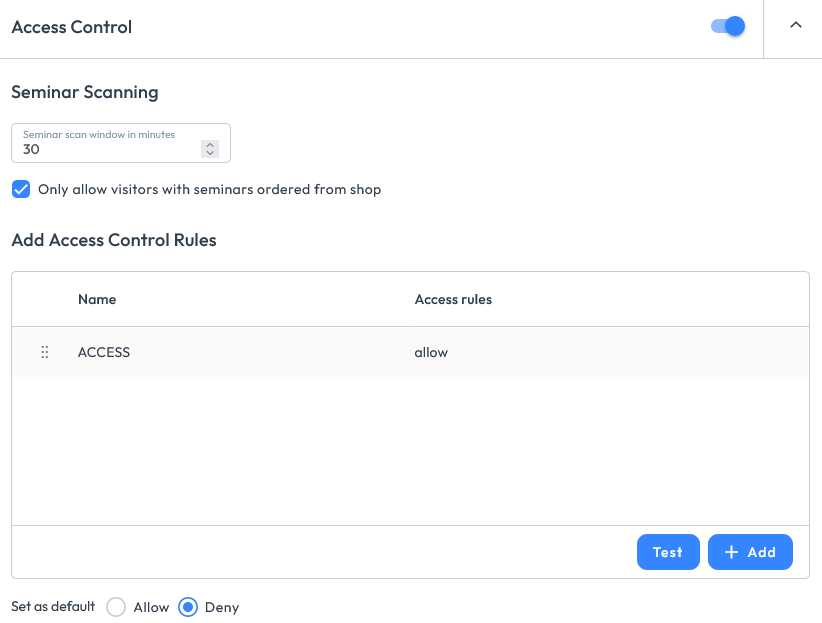
Go to Onsite > Settings.
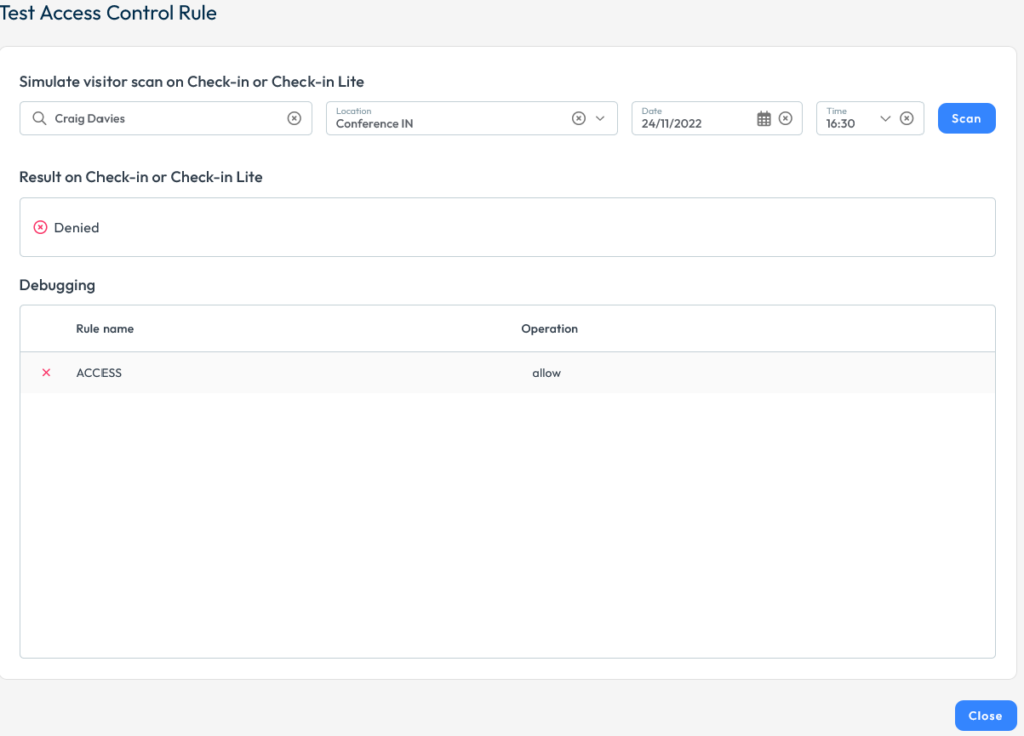
In the Access Control and Scan & Go section there is a button called Test. This is only visible for System and Super users. When you open this you get a dialog where you can simulate a scan as being made on a Check-in Terminal.
You get a screen where you can select a Visitor, a Location (Gate), and specify the time of the Scan you want to simulate. When you press test you will see the result of the Scan in the bottom section of the dialog (what happens on the Check-in terminal):