Event > Visit Discover displays the unique URL related to your event, and an associated QR code. By displaying this QR code at your live event, attendees may scan this QR on arrival to navigate to the associated URL. From here they may do one of:
- Register for the event, if not already registered. On completion, they can be directed into the Visit Connect environment.
- Locate their existing registration via an email access code. Registered users can be directed into Visit Discover.
Attendees who have pre-registered may also follow links contained in the email confirmations they have received, however the scannable QR code provides an easy route to get attendees into the Visit Discover environment.
Use the Open Visit Discover button to access Visit Discover for the current event. Note that some functions such as the event agenda, exhibitor list and product list are available to the public, without being logged on as a registered user.
Enter design mode by selecting the pencil icon .
Step 1
Interface setup (digital badge document, enable QR scanning etc)
- Upload an event logo to appear on the Visit Discover interface.
- Registration form: For onsite users, this will allow unregistered users to sign up for the event by scanning the published QR code as described above.
- Shop Form: define the form used for paid for activity items which selecting from the event agenda.
- Digital Badge: select the document to show when the Visit Discover user selects the View my badge function. Digital badge gives the option of using on-screen badges in addition to or as an alternative to printed badges.
- Content email template configures the email that is sent to Visit Discover users when they begin to interact with digital content. Digital content onsite may be accessed via either an associated QR code (scanned with Visit Discover) or a touchpoint (used with NFC-enabled printed badges.). The email body will typically direct the user into the Visit Discover environment for them to view their collected content.
- Enable Scan QR code enables Visit Discover to open event and/or partner digital content by scanning QR codes using their mobile device. Note that the scanning function is not available when using Visit Discover on a desktop computer. If there is no content to scan at the event and/or you are using touchpoints and NFC enabled badges, you will want to have this function turned off.
Step 2
Dashboard setup for browser, tablet, mobile
The dashboard consists of tiles with individual functions. You may configure the dashboard to highlight the functions that are the most important in the context of the current event.
Some tiles provide functionality unique to the dashboard (such as the recommended exhibitors) while others provide shortcuts to commonly used areas of the interface.
For each tile type, choose its size and position and configure any additional properties.
Three different dashboard layouts are configured, to suit different screen environments:
- Desktop View
- Mobile phone View
- Tablet View
Use the buttons to switch between the views.
After adding tiles to any of the modes, they may be re-positioned by dragging to the required location. It is also possible to modify a tile’s background color to one of the accent colors defined under the event color palette.
Exhibitor List links to the Exhibitors directory in Visit Discover. Larger sized tiles display the number of visible exhibitors.
Product List links to the Product directory in Visit Discover. Larger sized tiles display the number of products defined.
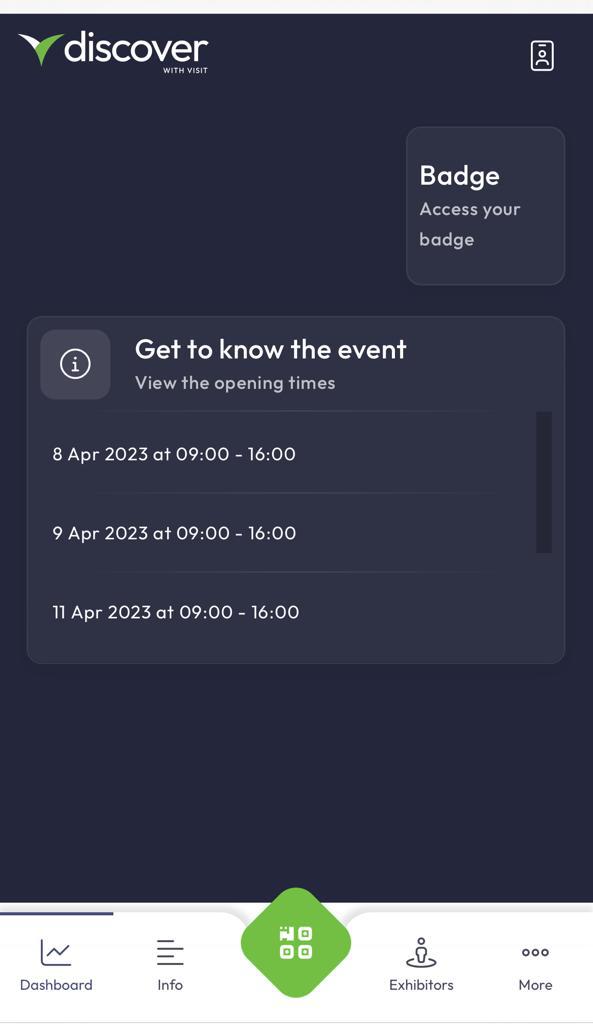
Event Info links to the Event Information (digital content) section of Visit Discover. Larger sized tiles display the event opening times within the dashboard.
What’s On links to the What’s On (agenda) section of Visit Discover. Larger sized tiles display a list of upcoming items based on the current date and time.
Digital Badge links to the badge document configured for the event. This function is also available from the badge icon in the upper right-hand corner of mobile and tablet views, if a badge document has been configured under Visit Discover settings.
My Calendar links to the user’s personal calendar. Larger tiles will display a list of the user’s upcoming items based on the current date and time.
Connections link to the user’s exhibitor connections. Connections are made when a Visit Discover user actively scans a QR code or taps a touchpoint linked to an exhibitor. Larger tiles display the number of connections made.
Messages links to the user’s inbox. Larger tiles display the number of unread messages in their inbox. Messages are initiated by Visit Discover users and may be in the context of chats with or meeting requests to exhibiting companies or their representatives.
Recommended Exhibitors displays a list of exhibitors likely to be of interest to the Visit Discover user. The recommended interests are determined both by data captured at the point of registration, and when interacting with Visit Discover. Important: recommendations will only function if labels have been defined and configured against the event data.
Recommended Products displays a list of products likely to be of interest to the Visit Discover user. The recommended products are determined both by data captured at the point of registration, and when interacting with Visit Discover. Important: recommendations will only function if labels have been defined and configured against the event data.
Text is used to provide generic information to the Visit Discover user. You are free to edit the text, apply formatting and configure the tile background color.