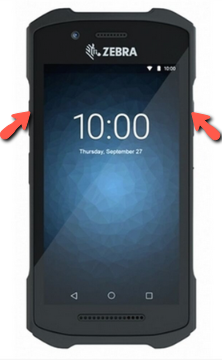
You can use Checkin Lite on the Zebra TC26 DataWedge scanner as with any regular Android smartphone, by using the camera to scan codes on the badges, or you can enable its built-in scanner and scan badges by pressing any of the two side-buttons. See Check-in Lite for more details.
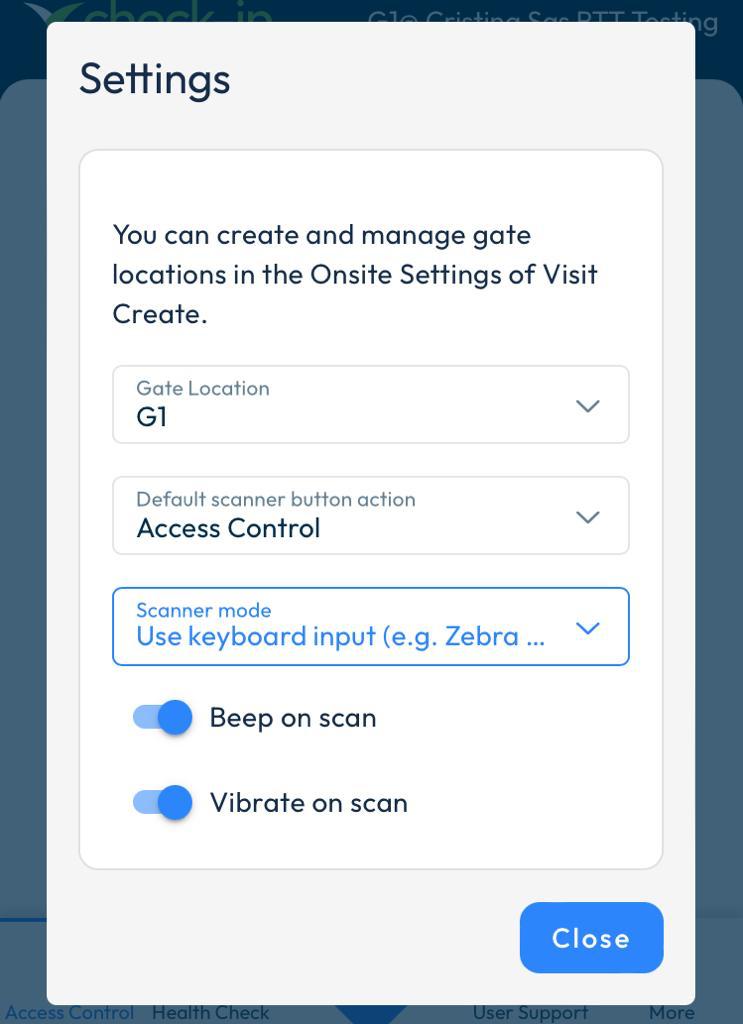
To enable the optical scanner use instead of the camera, go to Settings > Scanner mode in the Check-in Lite menu of the scanner, and select Use keyboard input.
Mandatory scanner settings
To have an optimal experience while using Check-in Lite with the Zebra TC26 DataWedge scanner, you must ensure that the following settings are enabled from the zConfigure file of your scanner:
- Go to DataWedge Profiles
- Select the profile you will be using (either the default one or add a new profile) and check the Profile enabled box.
Scroll down until you get to the Keystroke output menu, then select:
Action key character
- Select “Action key character”.
- Select “Carriage return”.
Key event options
- Select “Key event options”.
- Make sure “Send Characters as Events” is checked.
Basic data formatting
- Select “Basic data formatting”.
- Make sure “Enable”, “Send data” and “Send ENTER key” are checked.
Disable audio feedback and use Check-in Lite sound feedback (optional)
In the same Profile menu as above, go to Barcode input > Configure scanner settings
- Select “Configure scanner settings”.
- Select “Scan params”.
- Select “Decode Audio Feedback”.
- Select “None” (Geen).