
In this section of the Visit Connect app – if available – you can upload various types of information about your company and products that visitors can collect during the event through Touchpoints or Scanpoints, or access within their visitor app (Visit Discover).
Touchpoints are small NFC devices that can be attached to placards or booth walls, while Scanpoints are QR codes that can be printed on adhesive paper and displayed the same way as Touchpoints.
Access fromHomepage > Profile & Products
You can add content such as white papers, URL links, brochures, videos, images, and other documents, to share with visitors through a Touchpoint or Scanpoint (QR code). Visitors collect the content by tapping their badge on a Touchpoint, or by scanning a Scanpoint with the Visit Discover app for visitors.
They can also view your uploaded information within their visitor app (Visit Discover), should you choose to make your profile public.
Adding company profile content
- Click on Upload banner and Upload logo to add relevant images for your company.
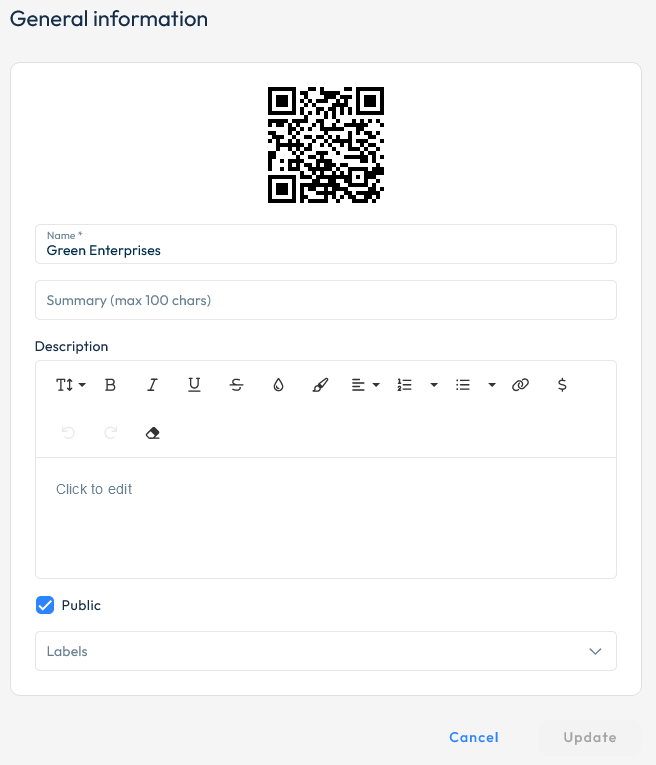
- Click the Edit icon in the top-right corner of the About section. That’s where you can enter general information about your company profile:
- Name: enter a name for the company that will be visible to the visitors.
- Summary: Enter a brief summary of up to 100 characters (optional).
- Description: Enter a description of the company. You have the option to edit the appearance of the text, and also add URLs, special characters, dynamic fields and HTML code (optional).
- Public: check this box if you wish to make the content visible in Discover for all visitors, or uncheck it if you want to make it available only to those who collect it by scanning a Scanpoint/tapping a Touchpoint.
- Labels: select on or more labels from the drop-down to have the content recommended to visitors based on their interests. The labels are predefined by the organiser based on the event topic/interests.
Add attachments by selecting the Add icon.
- Name: enter a name for the attachment that will be visible to visitors.
- Type: choose the type of content you wish to add. You can add URLs, documents – such as PDFs, images, audio, or video files. You can add multiple attachments of various types to the same content group by following the same process.
Add your social media in the Social media links section by clicking the Add icon.
Add product content
Content in a product container can be loaded onto one Touchpoint, or you can print the corresponding QR code to have it displayed on your booth. Visit staff will link your product content containers to your Touchpoint.
If you use Touchpoints, the number of product content containers available to you depends on the number of Touchpoint licences you have available. Each Touchpoint is associated with a container. You can have unlimited product content containers with Scanpoints. You do not need Scanpoint licences. The event organiser must enable Scanpoints for the event. Contact the organiser for help if Scanpoints are not available.
Similar to the company content, you can enter separate logos, summaries, and descriptions for each of your products, choose to make them public or not, and choose labels to get your products recommended to visitors with specific interests.
- Select + Add.
- Select Upload logo to upload a relevant image of the product or brand.
- Enter the Name.
- Add a short summary and a description in the text box.
- Select Save.
You can add multiple files of various types to a container – URL, Document, Image, Audio, or Video.
- Select the container.
- Select Add attachment.
- Enter a Name for the file or link you wish to upload. Visitors will see this name when they collect the content.
- Select the content Type. Depending on the type you select, you will notice either a field where you can add a link (for URL content) or an Upload button for the other types.
- Add your content:
- URL: add the URL in the value box.
- Document, Image, Audio or Video: select Upload file to upload your content asset.
- Select Save.
To delete an attachment within a content container, simply hover over it and select Delete .
To delete a product content container entirely, select their respective tile from the list and then click on the Delete button in the top-right corner.